

Getting Ready for Germination at Harmony Springs Farm
- Jennifer & Gene Chumley | Harmony Springs Farm

- Dec 28, 2025
- 4 min read

The first week of January is when the whole season starts to tilt forward here at Harmony Springs Farm. While most folks are still easing out of the holidays, we’re gearing up for one of the busiest stretches of our year: germination week. Before a single seed hits soil, there’s a pile of prep work that has to happen — not just for germination itself, but for all the other farm jobs that won’t wait while we’re buried in seedlings.
Why This Prep Matters

Germination is the foundation of our entire growing year. Once we start, the next month becomes a sprint, and anything we don’t get ahead on now becomes a bottleneck later. This year we’ll be germinating over 2,000 plants — mostly peppers, but also tomatoes and a
few other crops.
Peppers are slow to wake up and picky about conditions. Research shows pepper seeds germinate best at 70–85°F, with the sweet spot right around 80–85°F. Soil below 70°F drastically reduces viability. That’s why our prep work matters — we’re setting the stage for fast, even germination instead of a frustrating 3–4 week wait.
What We Need on Hand
Before we start, we stock up on the essentials:
Pro‑Mix
Aluminum baking pans
1020 trays
3.5” square pots
Full‑size baking sheets
Having everything staged and ready keeps us from scrambling once the seeds start popping.
Step-by-Step Prep Work
Expanding Our Germination Capacity

In past years, one DIY germination chamber handled everything. This year, we built a second — a new and improved version — to increase capacity and streamline the workflow.
Our chambers are simple but effective: they hold steady at 85°F with high humidity, which lines up with horticultural recommendations for hot peppers. High humidity allows us to water trays once when loading them and not again until germination is complete. Consistent moisture, not repeated watering, improves germination rates.
Germination chambers don’t guarantee seeds will sprout faster — peppers are still going to take the time they take — but what the chambers do guarantee is consistency. Instead of trays popping over a span of several days or even a week, we often see entire batches sprout within the same 24‑hour window. That consistency in timing makes the whole process more efficient. When everything germinates together, we can repot whole batches at once, keep our workflow tight, and produce more seedlings without dramatically increasing our labor.
Prepping the Grow Room
Our insulated, heated grow room is cleaned and reset before germination begins. It’s lined
with wire shelving racks, each fitted with two height‑adjustable LED shop lights. Strong, consistent light prevents legginess and supports early root development — exactly what pepper seedlings need once they emerge.
Lights run on digital timers so the lighting schedule stays consistent.
Setting Up the New Cold Frame Nursery
For the 2026 season, we added a cold frame nursery for hardening off plants. The floor still
needs weed fabric, and the nursery tables need to be moved in, but that can wait — we won’t be using the space until late February.
Wrapping Up Other Farm Tasks Before the Rush

Because germination takes over our lives for a month, we finish as many side projects as possible now:
Completing fertigation testing
Coppicing the willow beds and prepping them for next year
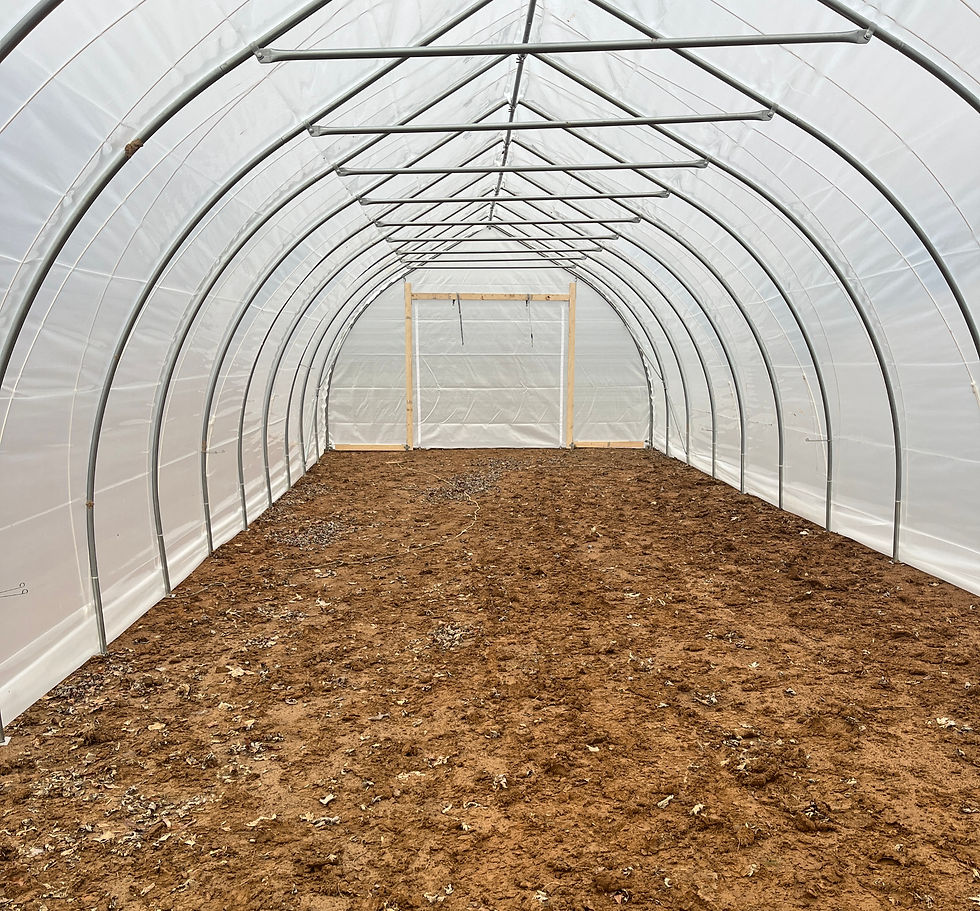
Finalizing row plans for the high tunnel, in‑ground beds, and raised beds
Planning rows early helps us decide which seeds to start first. If we can plant early in the high tunnel, we want seedlings ready on time. If we’re waiting on the last frost, we need to avoid plants getting root‑bound while they sit.
This ties directly into our “Timing Is Everything” philosophy — peppers need a long indoor start because they germinate slowly and grow slowly compared to tomatoes.
Troubleshooting and Common Pitfalls
Most germination problems come from lack of prep:
Starting seeds too cold — soil below 70°F drastically reduces viability
Overwatering — soggy soil causes many early failures
Inconsistent lighting — leads to leggy, weak seedlings
Poor airflow after sprouting — increases risk of damping off
Planting too deep ( I personally think this is the most common issue for beginner gardners)
Getting ahead now prevents all of that.
What Happens Next
In the next blog and video, I’ll walk you through our full germination process — from seed prep to loading trays to moving seedlings under the lights. That’s where the real magic starts.
If you want to follow along with the whole series, you can:
Subscribe to our YouTube channel for weekly farm videos, behind‑the‑scenes projects, and the full germination walkthrough.
Sign up for our farm newsletter to get blog posts, planting reminders, and seasonal tips delivered straight to your inbox.
Both options help you stay ahead of the season and follow our step‑by‑step growing arc from seed to harvest.


Comments